5 egg-cellent Easter activities for under 5s
- emilias918
- Apr 6, 2023
- 3 min read

Help your little one better understand Easter traditions with these fun and easy to set up Easter themed activities!
Each of the following provides your child with the opportunity to further develop the following Early Years skills:
Understanding the world – helping them understand why and how Easter is celebrated (within their community and further out).
Expressive art and design – allowing your little one to get creative is key to the development of confidence, problem-solving skills and more!
Physical development – using their hands will help develop their fine motor skills.
Communication and language – the more you chat about the activity and related topics the better your little one’s language and communication skills will get.

The Activity: Salt-painted easter eggs
You will need:
Card paper
Liquid glue
Liquid paint or food colouring (various colours)
Paint Brush
Method:
Draw a design using glue on the card.
Sprinkle with salt – make sure the glue is fully covered!
Shake off the salt (this can come in handy for other crafts).
Dip your paintbrush in watered-down paint, tap on top of areas of the salt you want coloured and watch it spread like magic!

The Activity: Fizzy Easter eggs experiment
You will need:
Small tray
Baking soda
Food colouring
Vinegar
Plastic easter eggs
Method:
Fill your tray with baking soda – no need to be accurate, just sprinkle it around the bottom.
Add your plastic easter eggs to the tray (an egg holder can help you keep these upright).
Fill each plastic egg with one or two drops of food colouring and cover it in baking soda (use a variety for colour-mixing fun!).
Pour vinegar into the eggs and watch them fizz and foam! As you add more vinegar the colours will be revealed.

The Activity: Crystal Easter eggs
You will need:
Jar (1 for each egg)
Pipe cleaners
Salt
Clothes pegs
Hot water & container
Method:
Boil enough water to fill all your jars. Pour it into your container.
Add salt to the hot water and mix – we recommend about a cup of salt per egg/jar.
Pour hot water into jars.
Let your little one shape their pipe cleaners – we recommend using 2 per egg to ensure you can suspend your egg in the saltwater solution.
Use a clothes peg to suspend the eggs inside each jar – make sure that they don’t touch the sides or bottom of the jar.
Wait about 2-3 days for the crystals to form but the longer you wait, the bigger the crystals will be.
Remove the eggs from the jars and optionally cut the hanger with scissors.
Dry the eggs on a paper towel and use to decorate or inspect the changes!

The Activity: Dying eggs with vinegar
You will need:
Hard-boiled or hollowed-out eggs (click here for a guide to do this)
White vinegar
Food colouring in various colours
Disposable cups
Tray
Method:
Place ½ tablespoon of baking soda into each cup.
Add 5-6 drops of food colouring into each cup and mix with a spoon.
Place one egg into each cup and place these cups onto a tray.
Pour 1/3 cup of vinegar into each cup and watch them bubble!
Let these sit for about 5-10 mins.
Set the eggs out on paper towels to dry. You can then use these as decoration or in other activites!

The Activity: Easter sensory tray
You will need:
Green or multicoloured rice (click here for a guide to dyed rice)
Little chicks
Coloured eggs
Small scoop or bowl
Other Easter-themed crafting supplies or decorations
Tray
Method:
This one is easy! Simply grab your tray add in all of the elements one by one and let your little one explore.
You can let them explore the items themselves or play mini-games such as counting the items, hide and seek with the chicks and more!
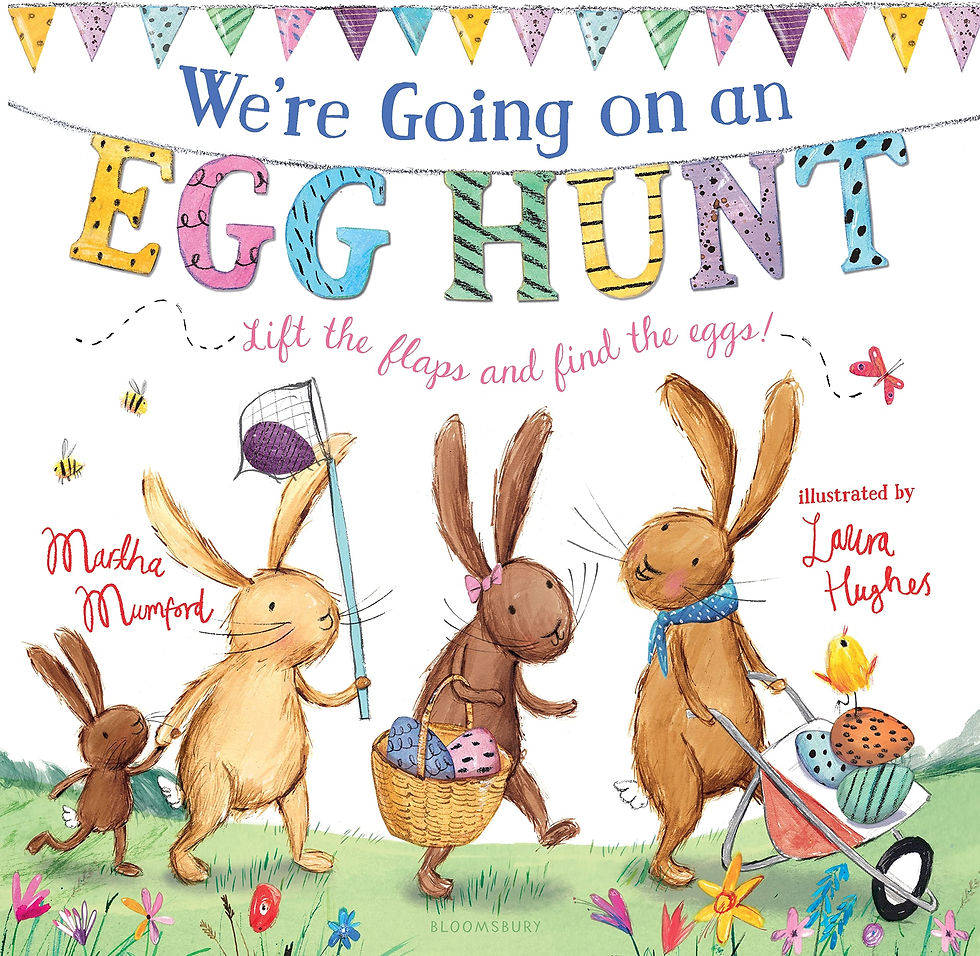
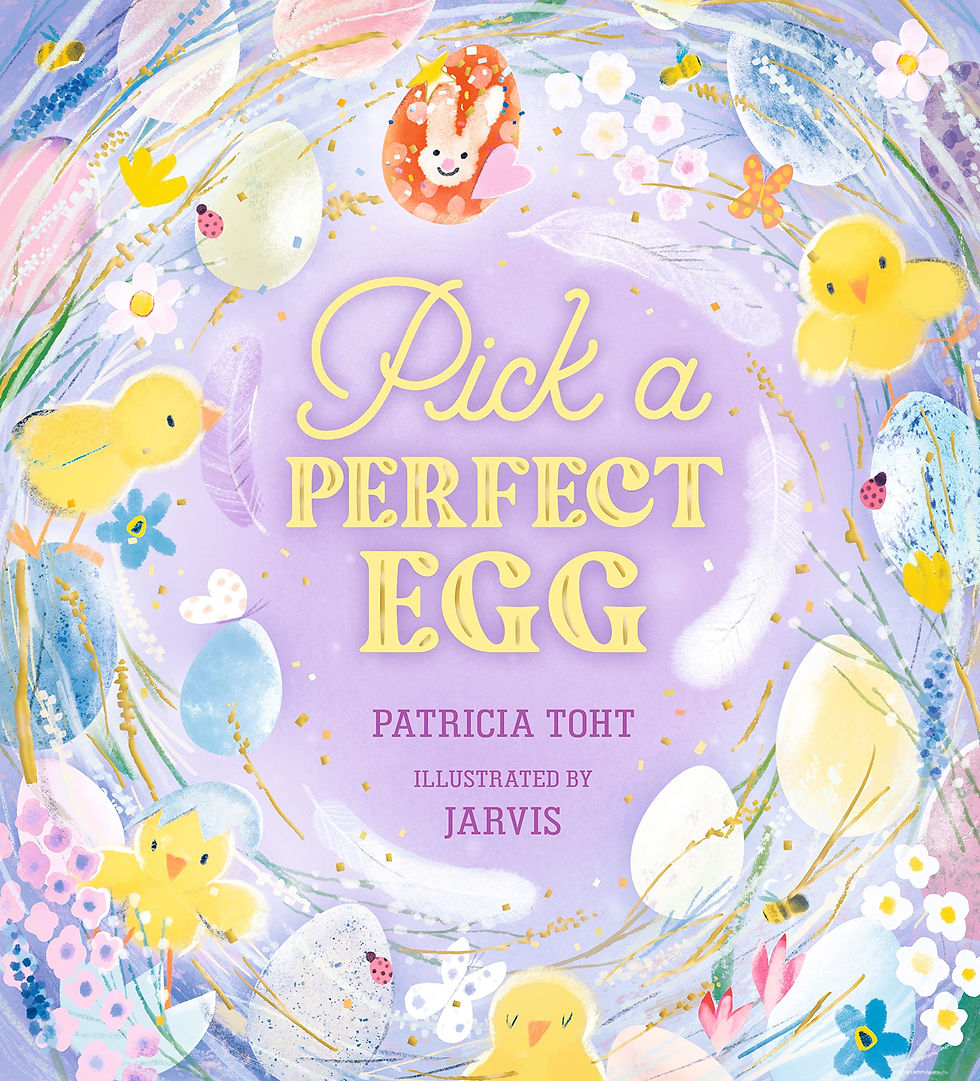
Finally, here are some Easter themed books to further your little one’s learning!


Comments